How to Color Ice
Make your icy objects look soft, shiny, and magical.

Supplies You'll Need:
Alcohol markers (we love soft blues, greys, and light lavender)
White acrylic marker or white gel pen
Pencil + eraser
Optional: Colored pencils for soft texture or depth
Thick paper for layering
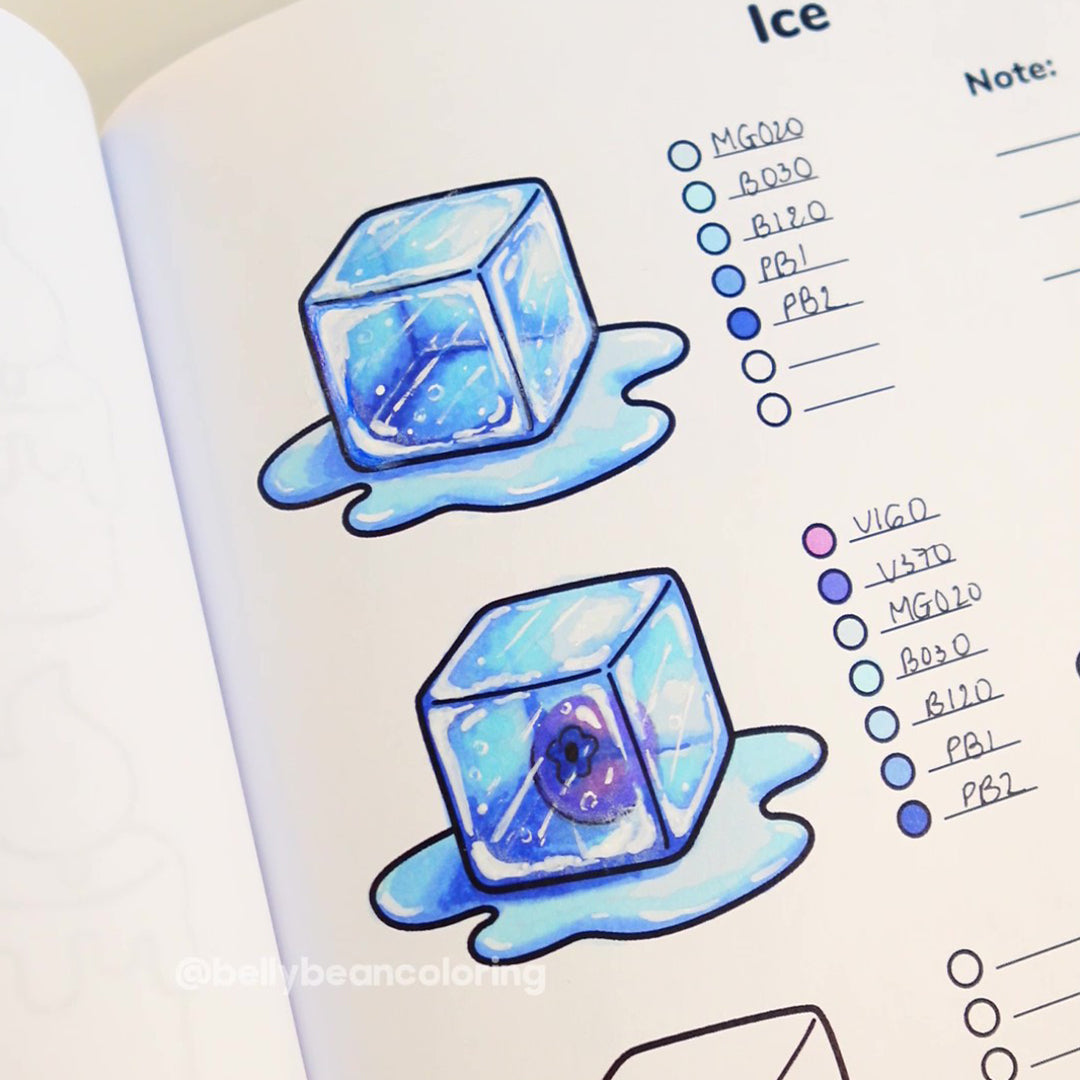
Step 1: Base Layer – Soft Ice Blue
Start with a light blue or icy lavender as your base.
Lightly fill in the whole ice cube or icy area with this base tone

Step 2: Lightly Sketch the Hidden Facets
With your pencil, gently draw in inner lines or cracks to mimic how light bounces inside the ice.
Think of ice like transparent crystal with soft geometry inside
Sketch angled lines that connect from edge to edge, like little windows or fractures

Step 4: Add Soft Shadows & Depth
Now layer a slightly darker blue or blue-grey on the back edges or corners.
Add this shadow on one or two sides (like bottom-right)
Blend gently into your base color, don’t overblend
Keep the center light to keep that frozen, translucent feel


Step 5: Outline with White Acrylic or Gel Pen
Trace over the inner facet lines you just sketched using a white acrylic marker or gel pen.
This gives your ice that glassy, frosty look
Let it dry completely before adding more color
You can also trace some outer edges of the ice for extra glow


Step 6: Color the Puddles Around the Ice
To make your ice cube feel grounded and extra realistic, add light blue to the puddles around it. Create depth and hight with darker blue and white acrylic marker at the edge of the puddle.

Cozy Tip from Belly Bean:
Melting puddles make your drawing look alive and storytelling, like something just happened (a magical drink? a snow creature sat here?). Keep the shapes soft and let the white space do the work!

Tag us @bellybeancoloring when you try your own ice cube — we’d love to see your frosty masterpiece! ❄️🧸
#bellybean #bellybeancoloring #howtocolorice #coloringtutorial #cozyart #coloringforrelaxation