
How to Color Beach Water: A Step-by-Step Tutorial
In this tutorial, we’ll show you how to layer colors, blend smoothly, and add highlights to capture the movement and depth of beach water.

Materials Needed:
-
Alcohol markers (light blue, turquoise, deep blue, sand beige, and white)
-
White acrylic pen
-
White Gelly Roll pen


Step 1: Base Layer of the sand with beige or white sand color
Fill the beach sand area with a layer of beige.

Step 1: Base Layer with gradien from light blue to darker blue
Fill the water area with gradient of blue. This will be the foundation of your ocean coloring.


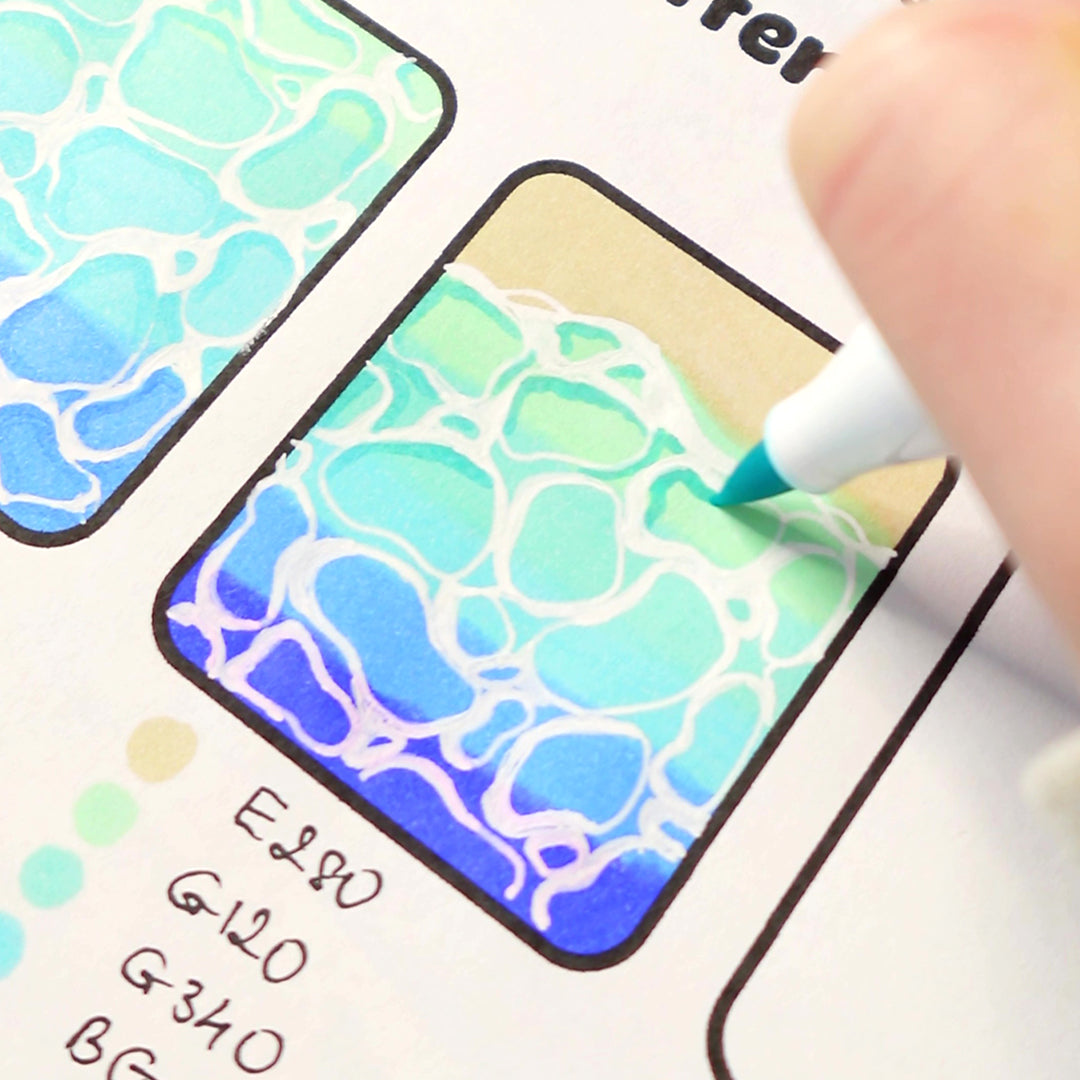
Step 3: Add Depth with Turquoise and Deep Blue
Use a turquoise marker to add depth to the middle sections of the water. Then, apply deep blue in the farthest areas to create the illusion of distance.

Step 4: Add Wave Texture with White Highlights
Use a white acrylic pen or a white Gelly Roll pen to draw small, curved lines where waves break near the shore. Lightly blend some of these lines to create soft foam effects.


Step 6: Create a Wet Sand Effect
Use sand beige and light blue markers near the shoreline to create a damp sand effect where the water meets the beach. Add some yellow by yellow pencil for more depth and hues.

Step 7: Final Details and Sparkles
Add a few white specks and sparkles on the water surface to mimic sunlight reflections. Keep them light and scattered for a natural, shimmering look.

And that’s it!

Don’t forget to share your finished artwork with us using #BellyBeanColoring on Tiktok and Instagram!
For more fun tutorials and full video content, follow us on social media!