How to Color Crystal
Share
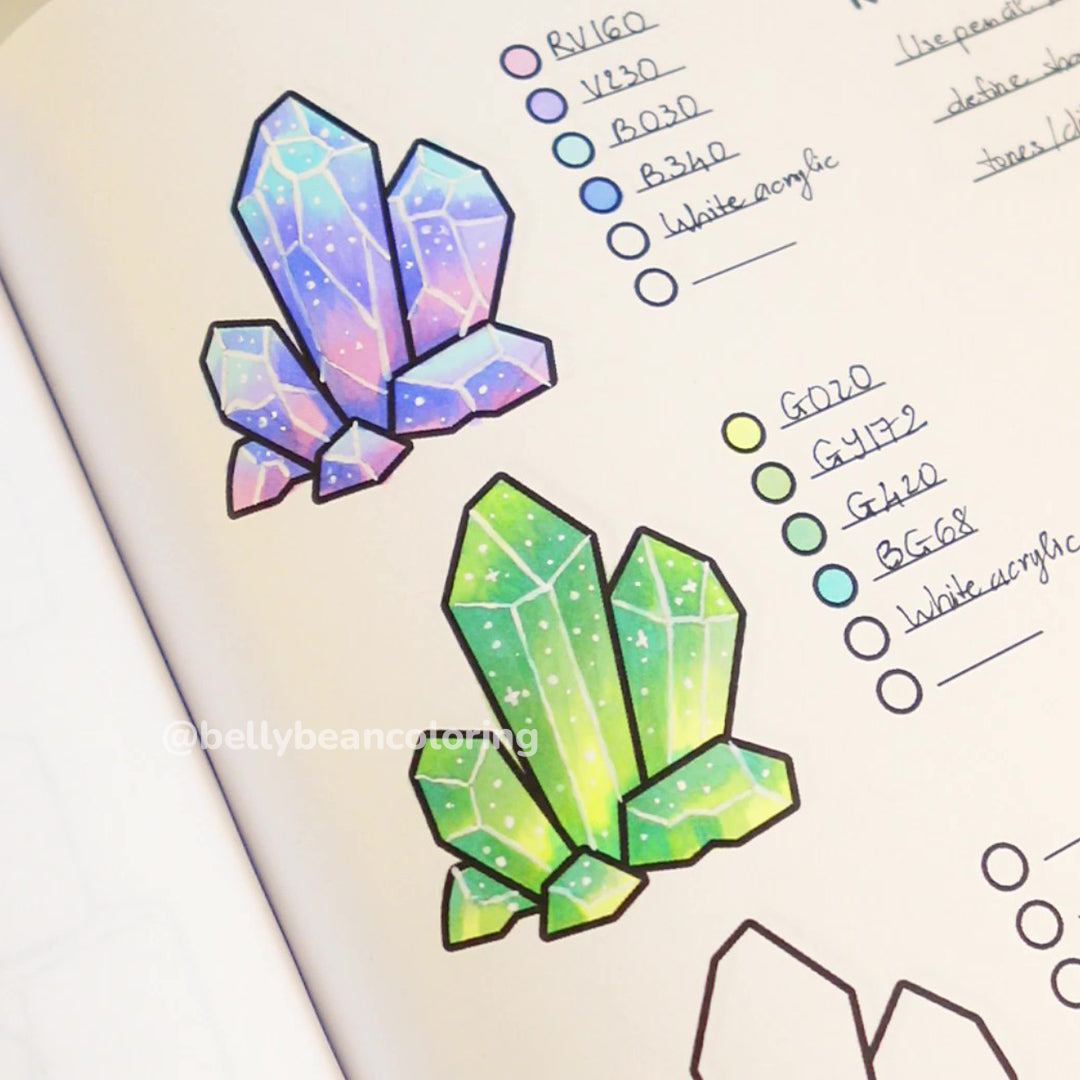
Crystals have a unique, glowing appearance that reflects light in beautiful ways. the key to realistic crystal coloring is blending, highlights, and shadows. Let’s dive into how to bring your crystal to life.

What You'll Need
- Pencil + eraser (for sketching)
- Alcohol markers (we use the Ohuhu 104 Honolulu set!)
- White gel pen or white acrylic marker
- Optional: Colored pencils for extra shading or texture
- Thick paper or marker-safe paper
Step 1: Pick Your Palette
Crystals look magical in cool colors like purple, blue, or pink. Choose 3–4 colors:
- 1 light tone (for glow)
- 1 medium tone (main color)
- 1–2 darker tones (for depth & contrast)
Example Palette:
🌸 Light Pink – Lavender – Deep Purple – Touch of Blue
Step 2: Sketch the Crystal Facets with Pencil
Start by gently drawing a crystal shape using light pencil strokes.
- Crystals are made up of flat, angled surfaces called facets
- Use straight lines and angled edges — think of tall triangles or stacked diamonds
- Draw 4–6 sides, each with different angles and directions
- Don’t worry about being perfect — crystals are naturally imperfect and magical!

Step 3: Trace Your Pencil Lines with White Acrylic
Now comes the magic!
- Use a white acrylic marker or fine brush to trace over your pencil sketch
- Let it dry completely
- This creates glowing, crystal-clear edges when you color over it

Step 4: Color Each Facet, One by One
Time to color!
- Use your markers to color each crystal facet individually
- Alternate light and dark tones, don't blend too much
- Let some of the white outlines peek through (they’ll glow!)

Step 5: Add Depth and Sparkle
- Use your darkest color for shadows at the base or backside of the crystal
- Add a soft cast shadow under the crystal using grey, blue-grey, or lavender
- Use your white gel pen to add tiny stars, shine lines, or dots for sparkle
Optional: Add a gentle colored halo around the crystal for a dreamy glow!

Cozy Crystal Tips
- White acrylic first = clean, glowing crystal outlines
- You can even splatter tiny white dots for magic dust ✨
- Experiment with rainbow crystals, candy tones, or natural gemstones
- Pair your crystal with a moon, cloud, or magical creature from your book!

Thanks for coloring with us today! ✨
Tag us @bellybeancoloring if you try this at home, we’d love to see your sparkly creations!
#bellybean #bellybeancoloring #bellybeantutorial #howtocolorcrystal #cozyart #selfcareart #coloringtutorial
